In this blog post, we shall see how we can take leverage of Capacity Reservation in OCI. In this post, we shall create the same.
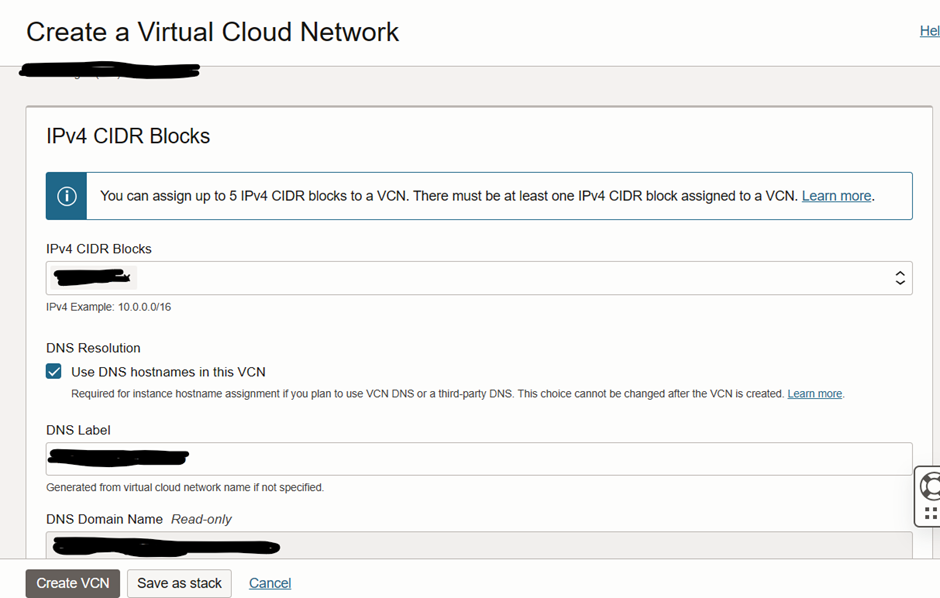
To start with, we shall start with the creation of the VCN. Now, this is something which is up to you, you can either use the wizard or the manual way. I am using here the manual approach.
So now, the VCN is created. Next thing is to go ahead with the Subnet creation. This subnet is going to be used by us later.
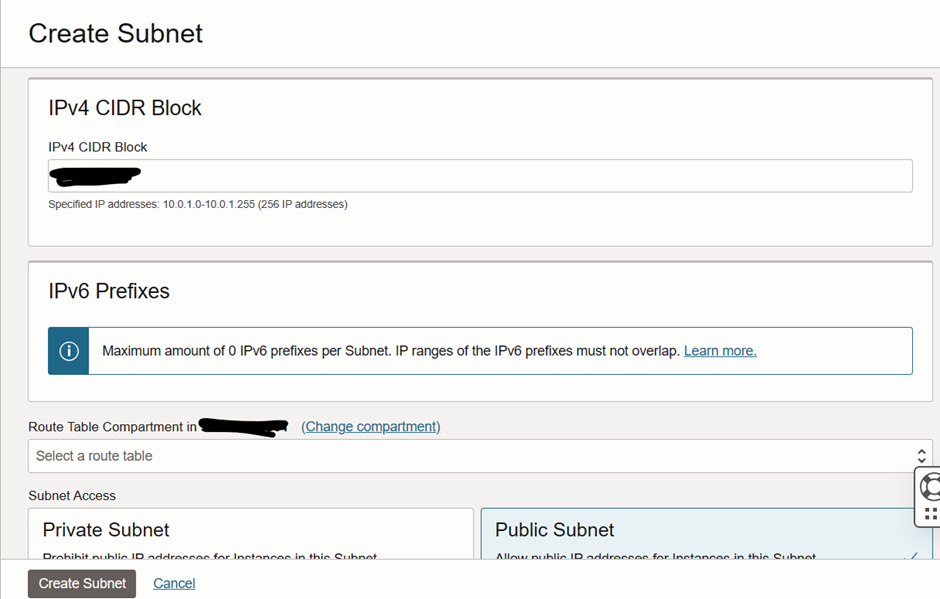
So now the subnet is available and the state is also Available.

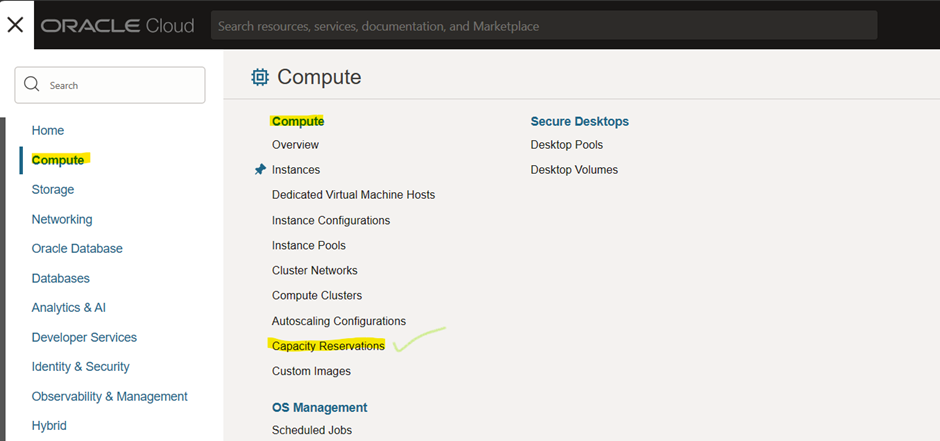
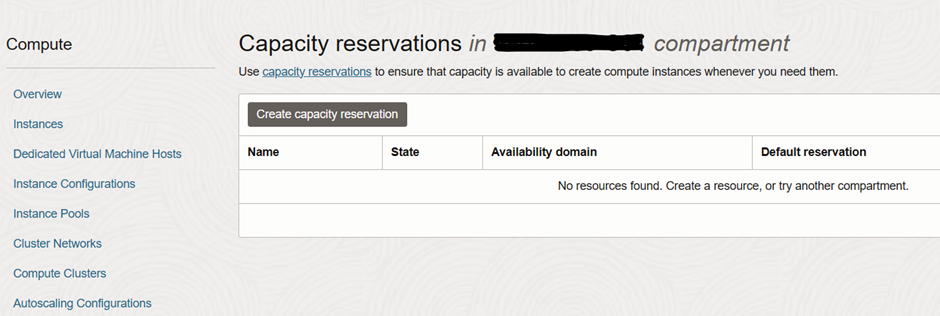
Now the next thing is to create capacity configuration. For doing so, you need to go from Main Menu> Compute > Capacity Reservations. Once reached there, click on the Add Capacity Configuration.
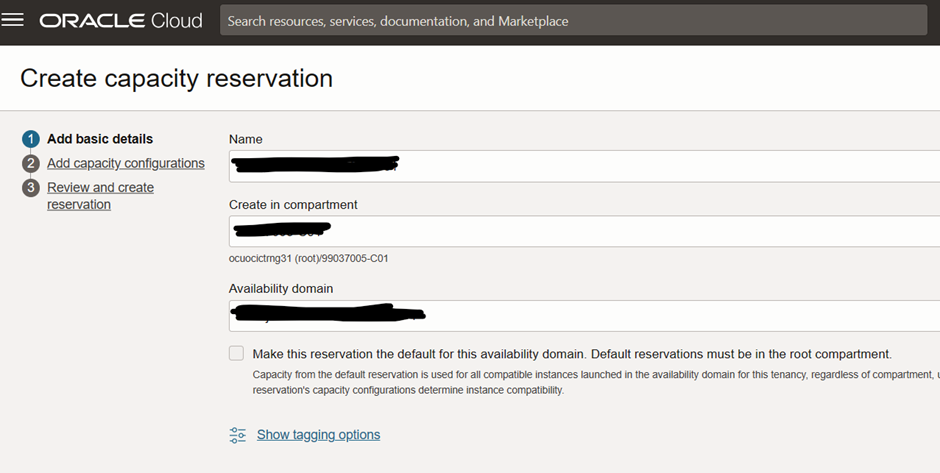
Now, the Create Capacity Reservation wizard starts. It has three parts. First part is to add basic details like the name of the Capacity Reservations name and the compartment in which it will be created along with the domain.
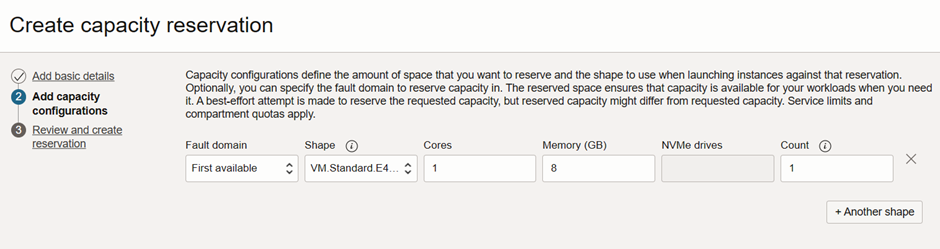
Once done, now in the second step, we need to add capacity configurations. Here we shall add the details like what kind of the machine, CPU and RAM for the same and the capacity count has to be there. Here we are choosing the VM Shape.
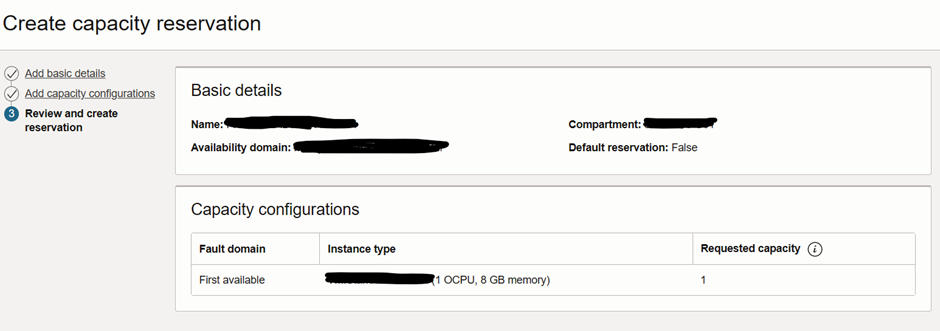
On the final part of the screen, you have to save the changes and the capacity reservations.
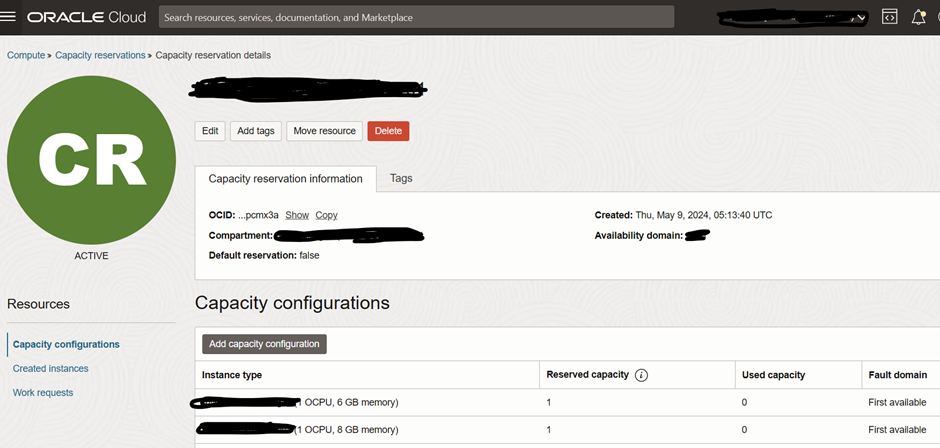
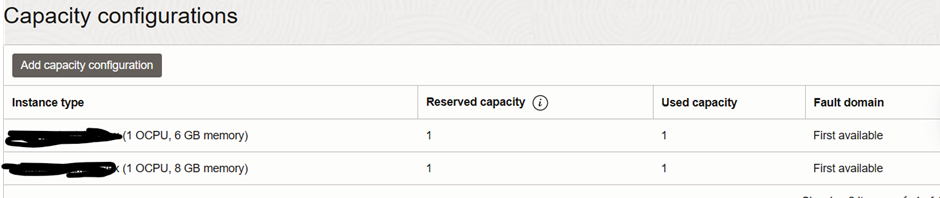
Once done, now we shall add another capacity configuration in the same. Here we have added another VM with a different shape. So now, we have two shapes in this reservation.
So now, we have a capacity reservation. We shall add now the instance in this reservation. For this, you need to go to Main Menu > Compute > Capacity Reservations > Created Instances . Click on Create Instance button.

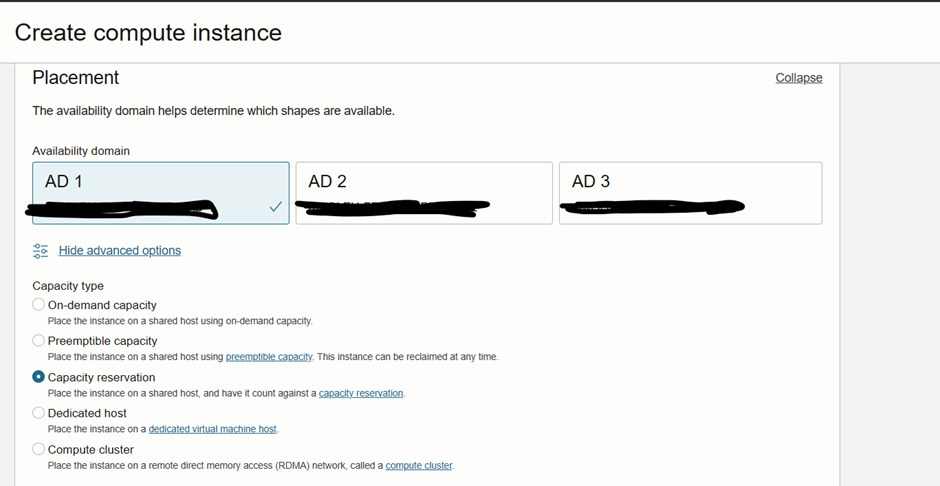
Instance creation is just the same but the only thing is that you need to choose the Capacity Type as Capacity Reservation.
By using the wizard, we have added two instances here.
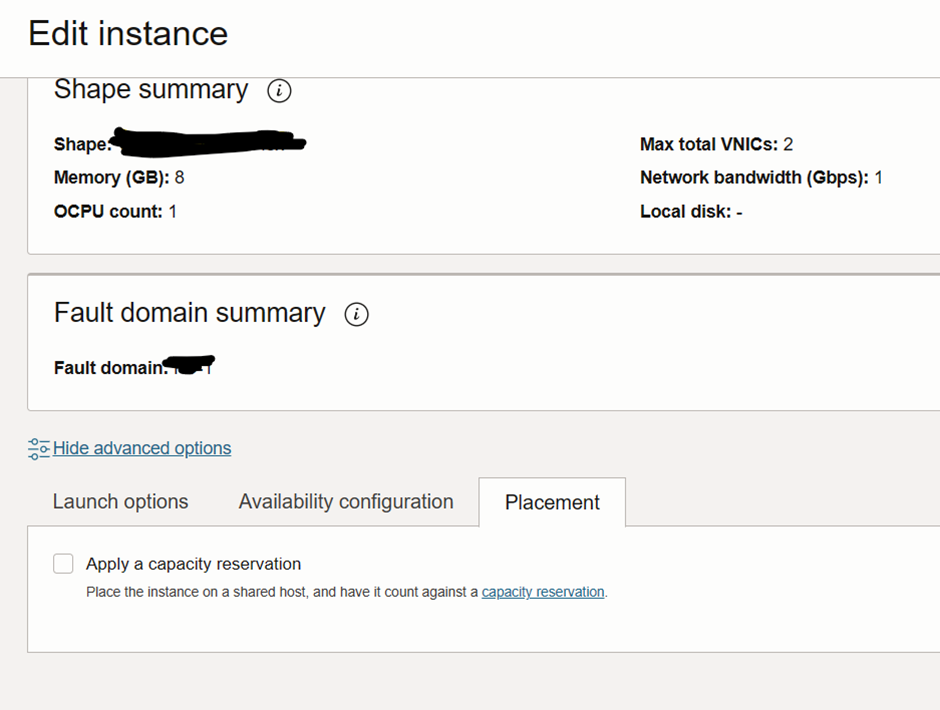
So now we have the instances, we shall see how the instance can be moved out from capacity reservation. So for that, go to Compute> Instances> Instance Details > More Actions > Edit. In Edit, choose Placement, uncheck the Apply a Capacity Reservation. Once done and saved, the instance will be moved out of the same.

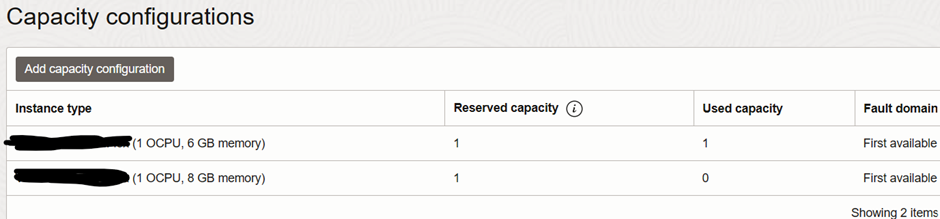
As shown, the used capacity is now showing a zero.
In the same way, an instance can be added to the capacity reservation as well.
Hope that helps.
Aman….


Recent Comments