In previous post, I mentioned that database 21c is available for download now. In this post, we shall install database 21c on OEL 7.
The very first thing we shall do is to download the software from oracle.com.
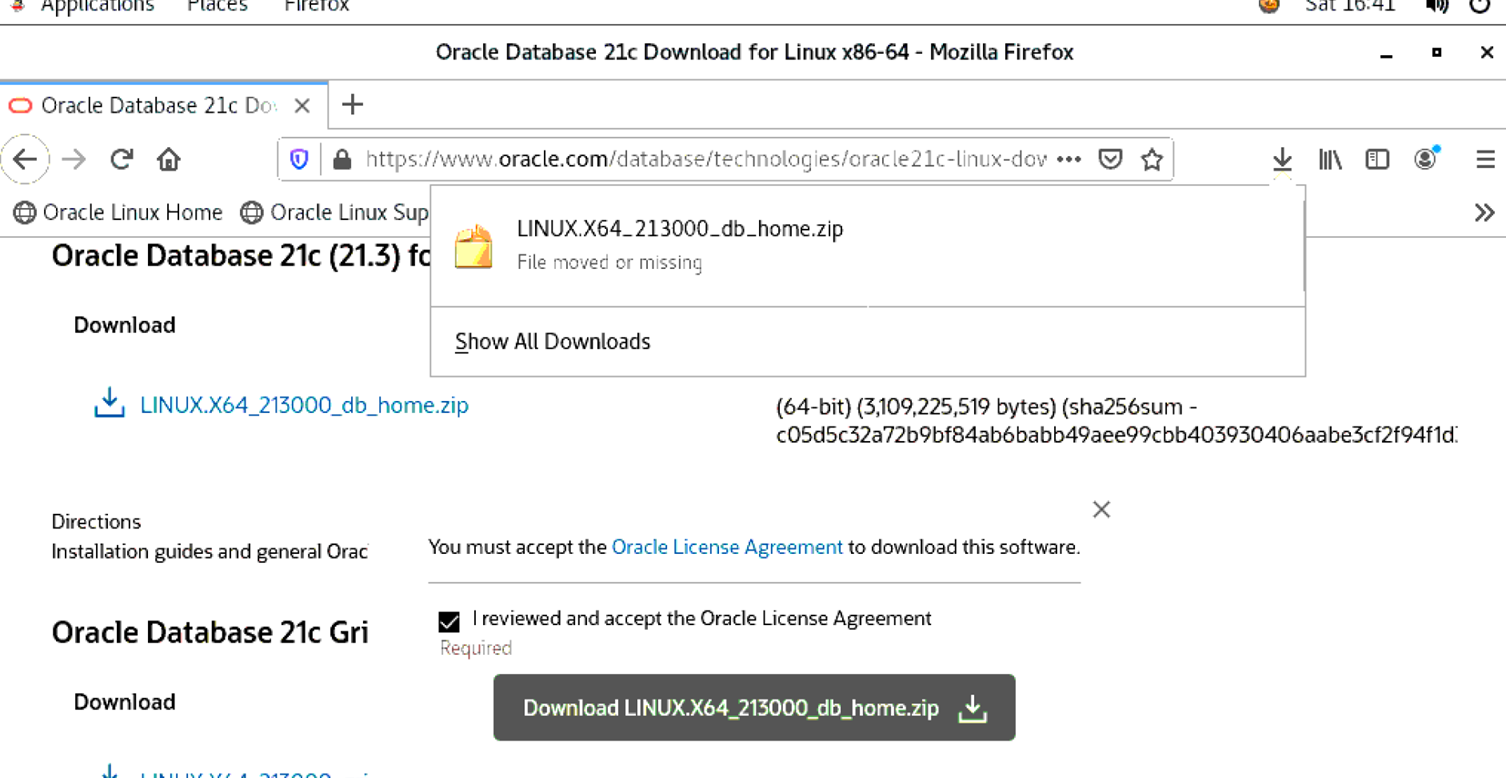
So now the software is installed, next we shall be doing some steps which are going to be about disabling the firewall, creating the required folders and changing permissions for the downloaded zip file for Oracle user. Of course, if you want to see these steps in much more better way, and in more details, you can check Tim’s 19c installation article. So far, Tim hasn’t updated his website for 21c installation but the articles are coming as he has mentioned here.
[root@oci-cli-instance opc]# vi /etc/selinux/config
[root@oci-cli-instance opc]# setenforce Permissive
[root@oci-cli-instance opc]# systemctl stop firewalld
[root@oci-cli-instance opc]# systemctl disable firewalld
Removed symlink /etc/systemd/system/multi-user.target.wants/firewalld.service.
Removed symlink /etc/systemd/system/dbus-org.fedoraproject.FirewallD1.service.
[root@oci-cli-instance opc]# mkdir -p /u01/app/oracle/product/21.0.0/dbhome_1
[root@oci-cli-instance opc]# mkdir -p /u02/oradata
[root@oci-cli-instance opc]# chown -R oracle:oinstall /u01 /u02
[root@oci-cli-instance opc]# chmod -R 775 /u01 /u02
[root@oci-cli-instance opc]# exit
exit
[opc@oci-cli-instance ~]$ cd Downloads/
[opc@oci-cli-instance Downloads]$ ls
LINUX.X64_213000_db_home.zip
[opc@oci-cli-instance Downloads]$ mv LINUX.X64_213000_db_home.zip /u01/app/oracle/product/21.0.0/dbhome_1
mv: cannot move ‘LINUX.X64_213000_db_home.zip’ to ‘/u01/app/oracle/product/21.0.0/dbhome_1/LINUX.X64_213000_db_home.zip’: Permission denied
[opc@oci-cli-instance Downloads]$ sudo bash
[root@oci-cli-instance Downloads]# mv LINUX.X64_213000_db_home.zip /u01/app/oracle/product/21.0.0/dbhome_1
[root@oci-cli-instance Downloads]# chown -R oracle:oinstall /u01/app/oracle/product/21.0.0/dbhome_1/LINUX.X64_213000_db_home.zip
[root@oci-cli-instance Downloads]#
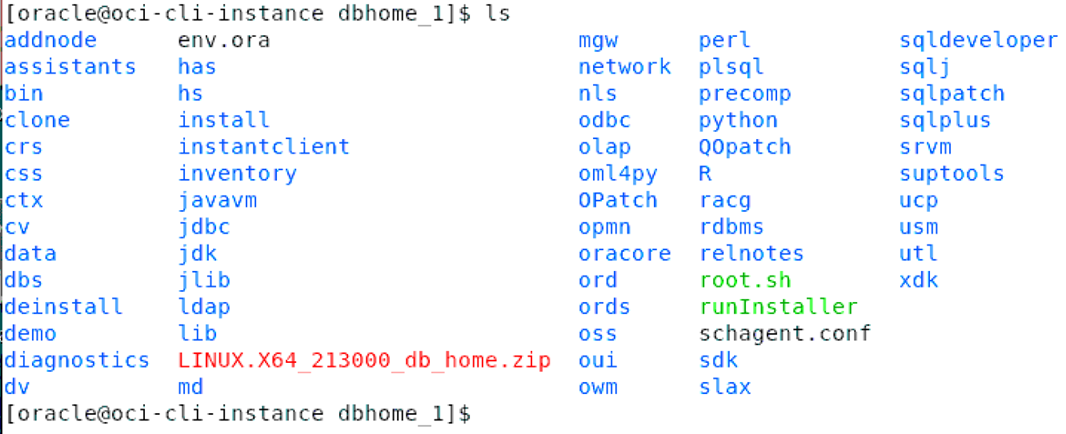
Next, we shall be setting DISPLAY parameter and unzip the software.


Once unzipped, we can now see the runInstaller present and we are ready to proceed with the installation.
So now, let’s have the installation started. Though the rest of the installation is same, the only difference is that now, Oracle Database Home, is read-only by default. You can read more about it from the docs here.
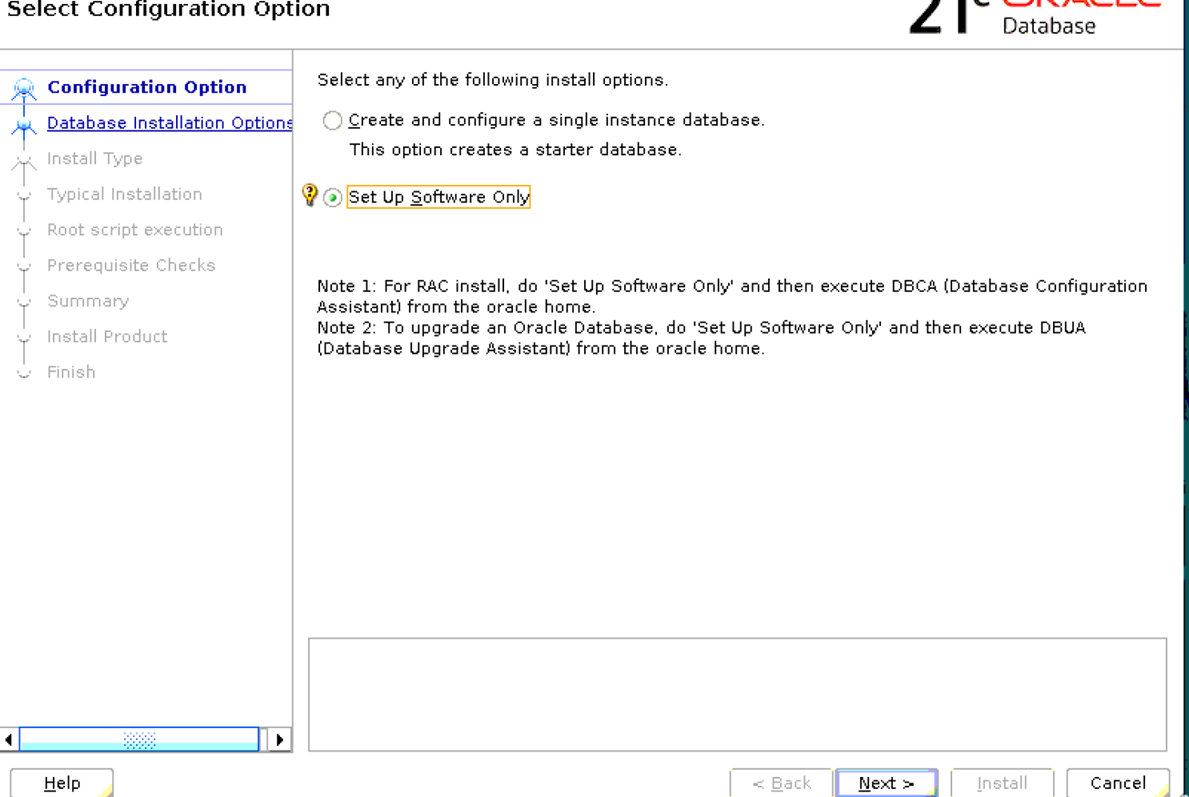
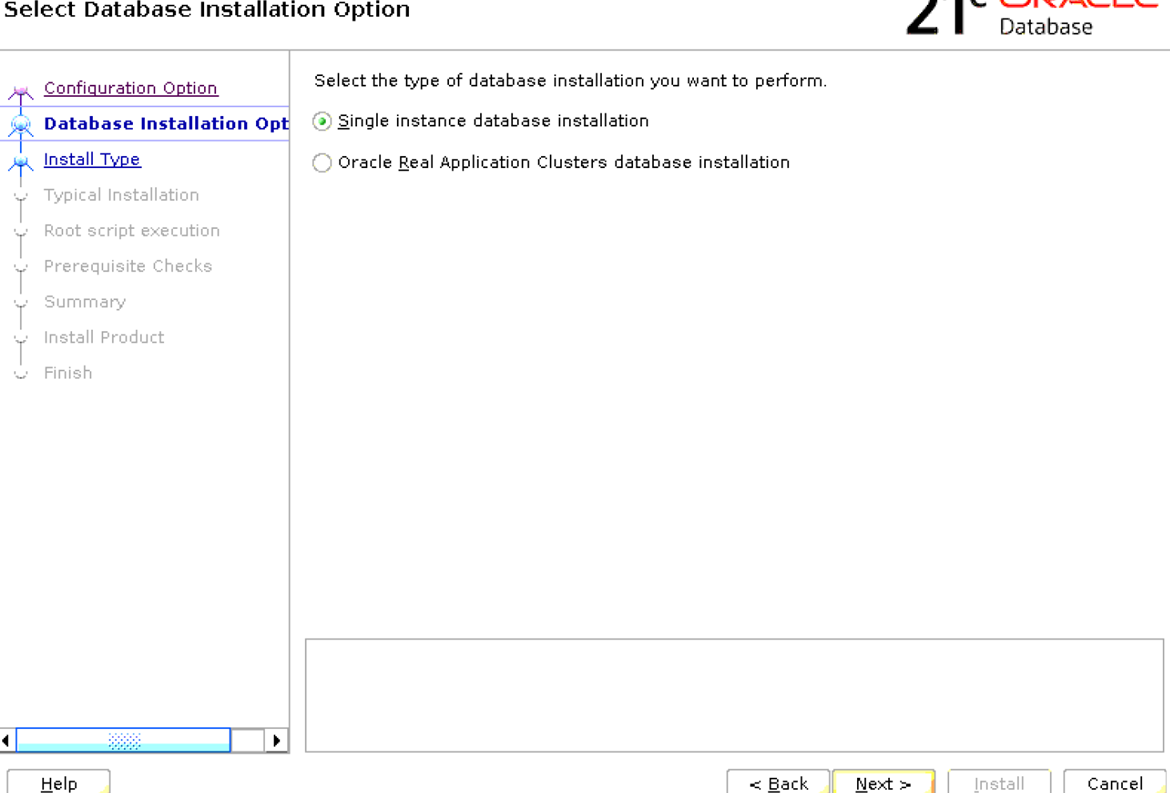
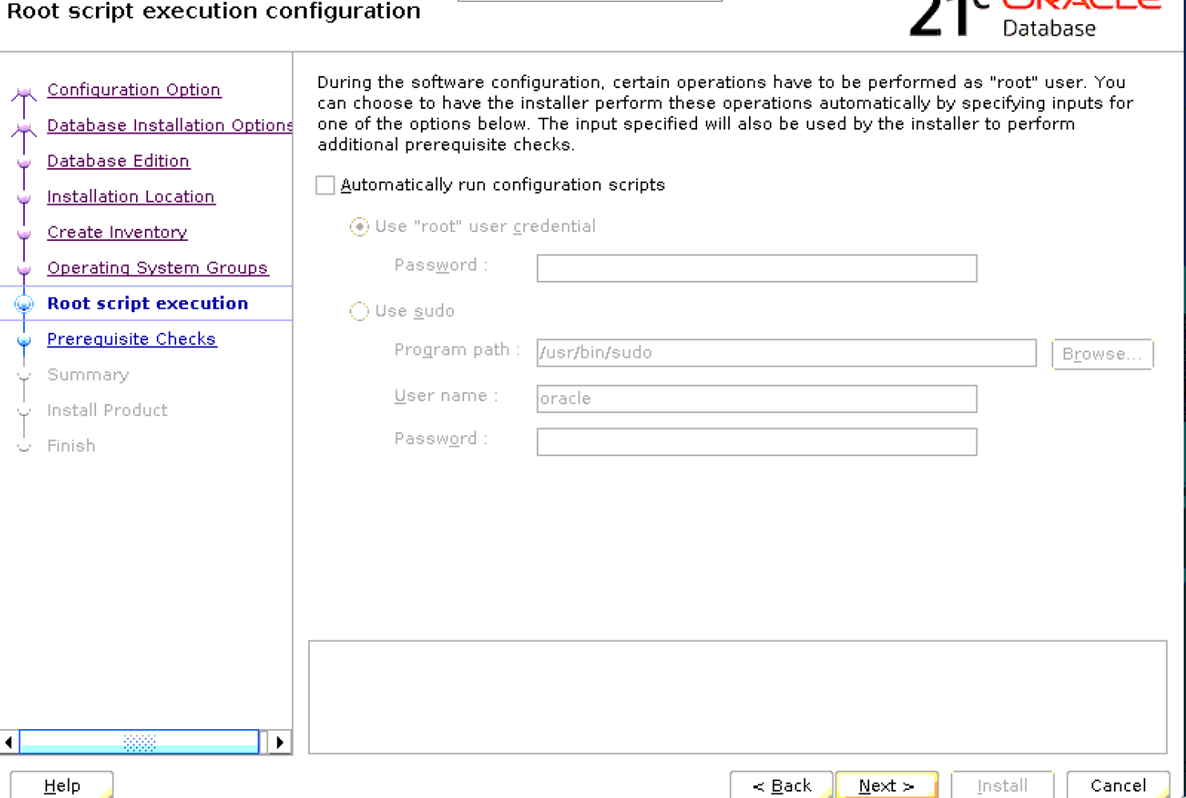
After starting the installation, we shall be opting for software installation only as we shall create the database in the next post. Installation of 21c database software isn’t any different from any other recent version database installation. So proceed with the steps as shown below in the screenshots.
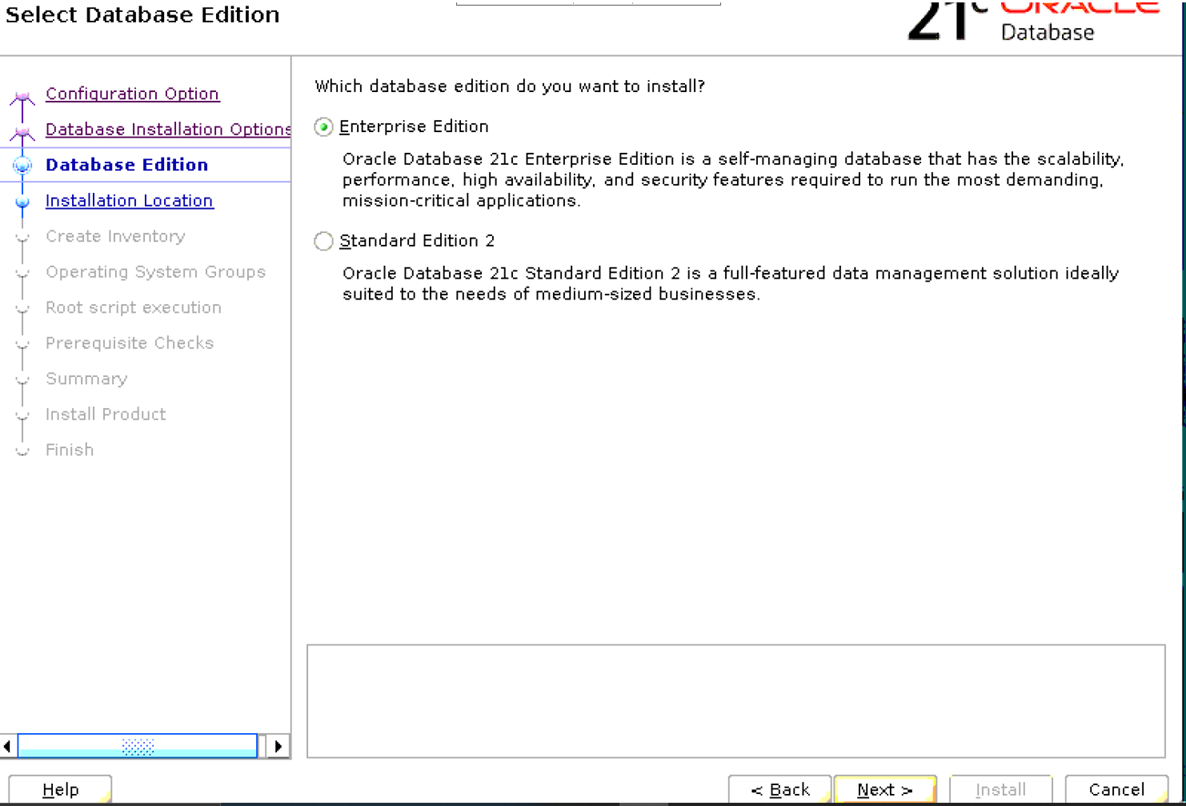
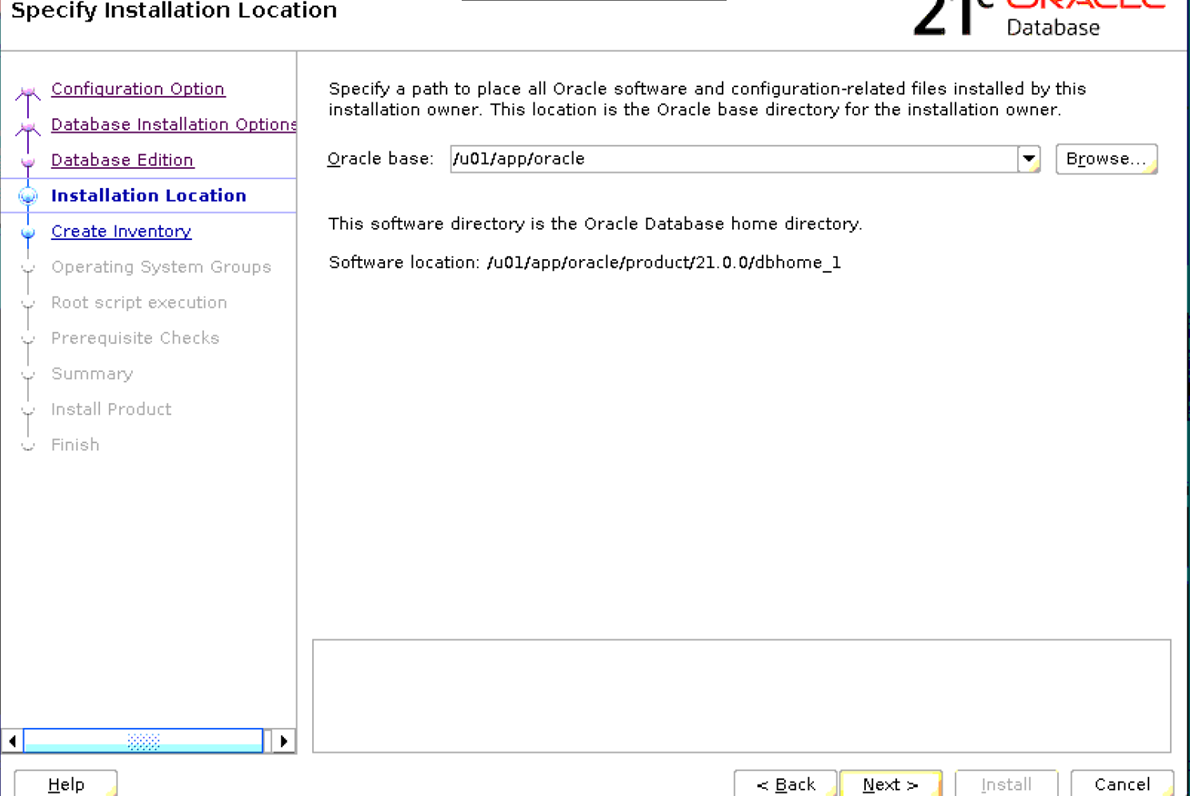
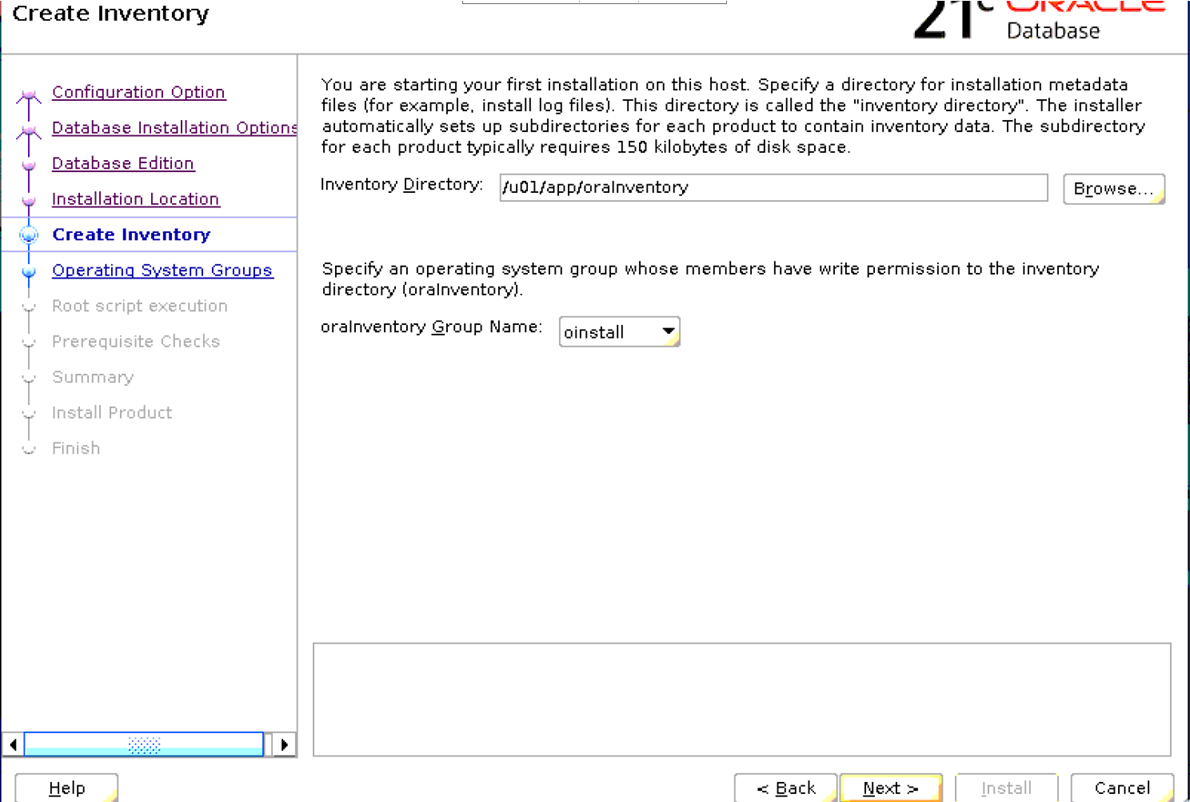
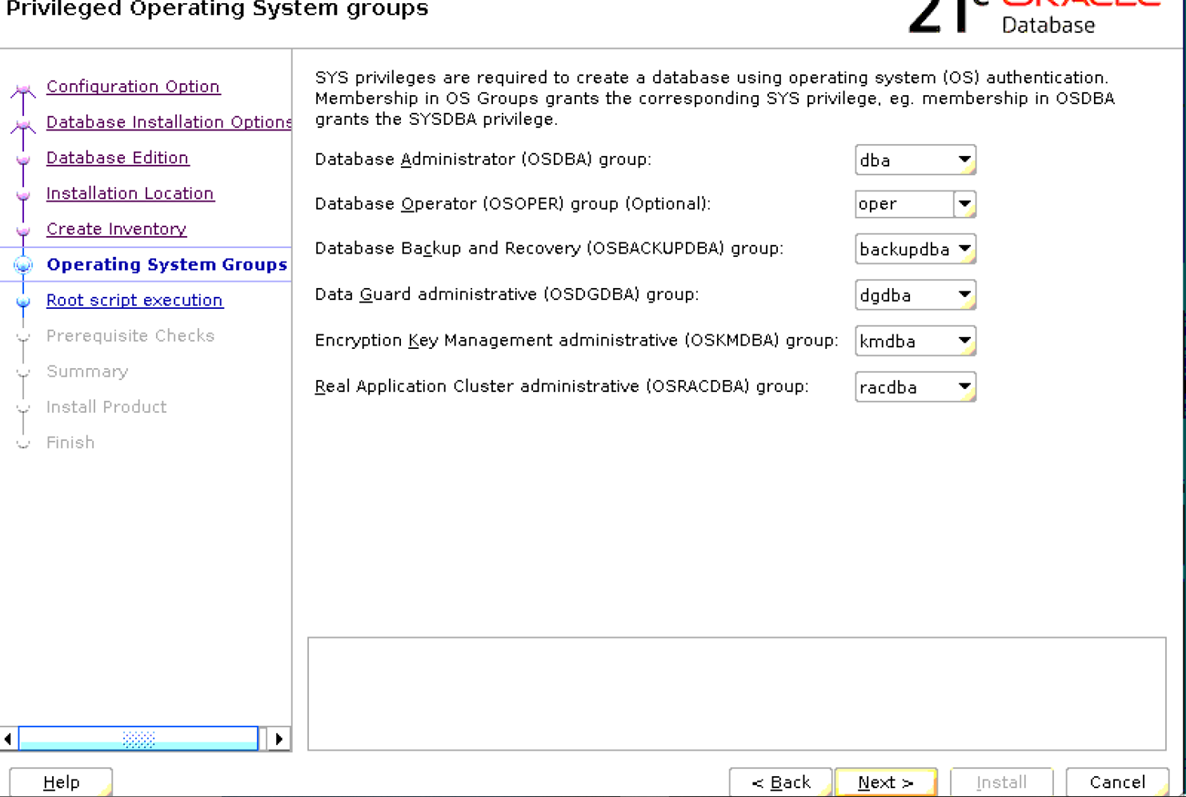
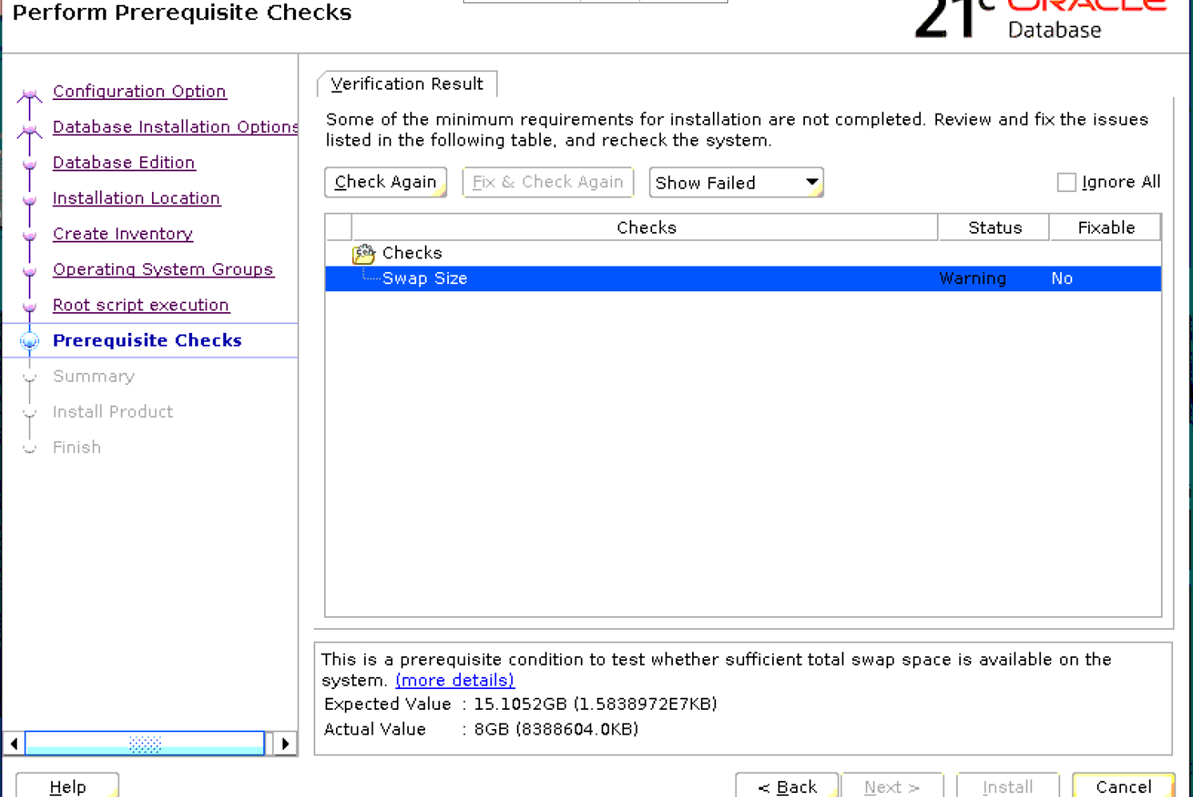
I got this warning for Swap space due to the hardware configuration of my VM. If you are doing an installation on your own VM, configure SWAP space at least equal to your RAM size. Choosing IGNORE ALL did let me proceed with the installation.
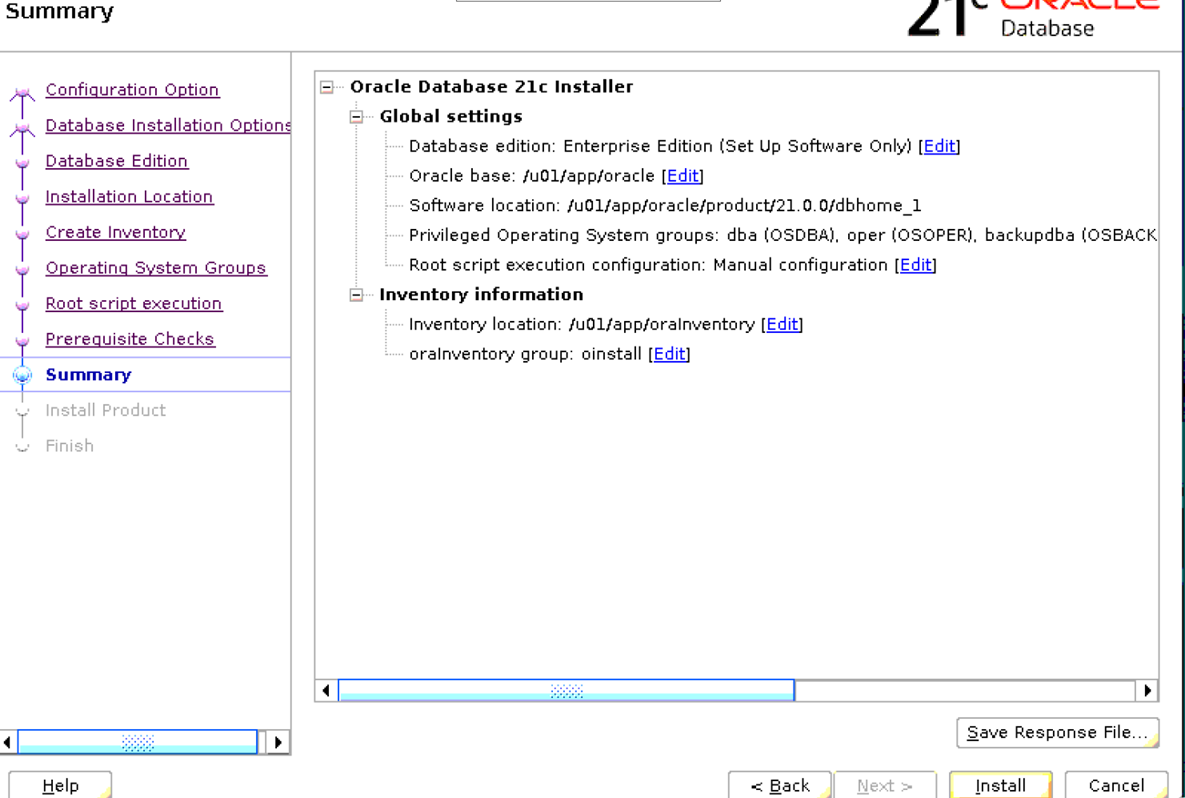
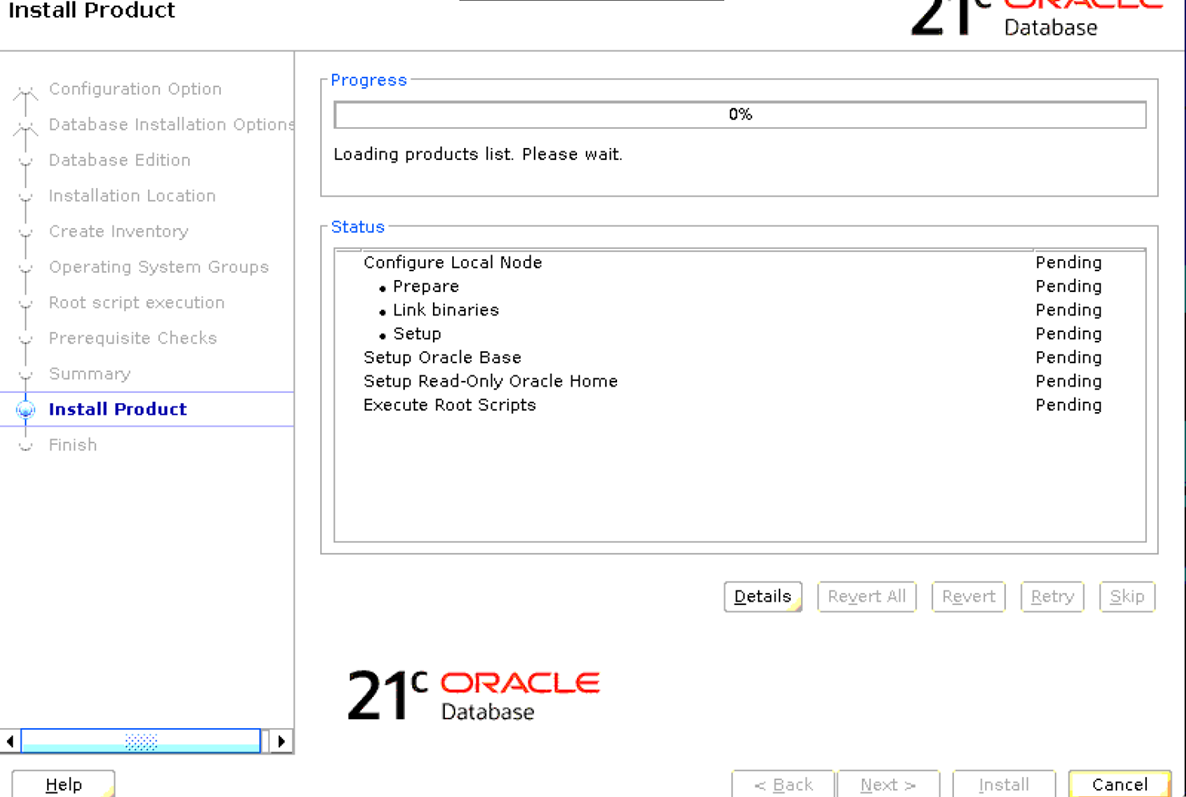
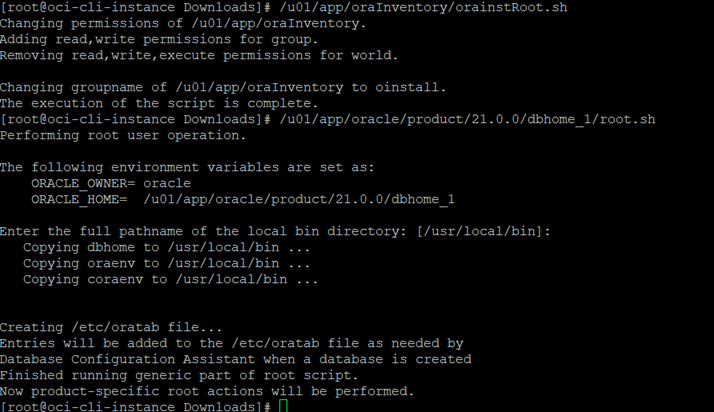
So now are prompted to run Root.sh and oraInst.sh.
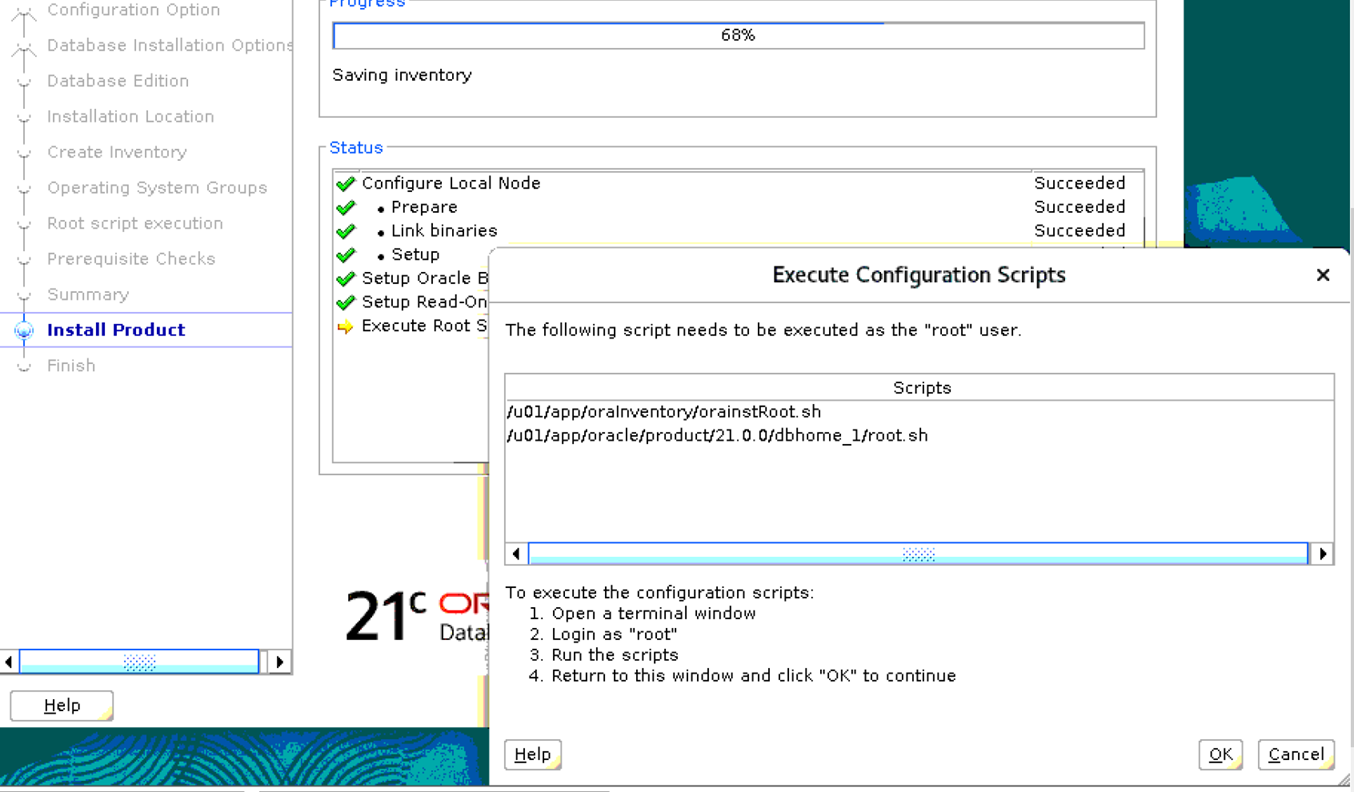
And there is no difference in executing both the scripts compared to the previous versions.
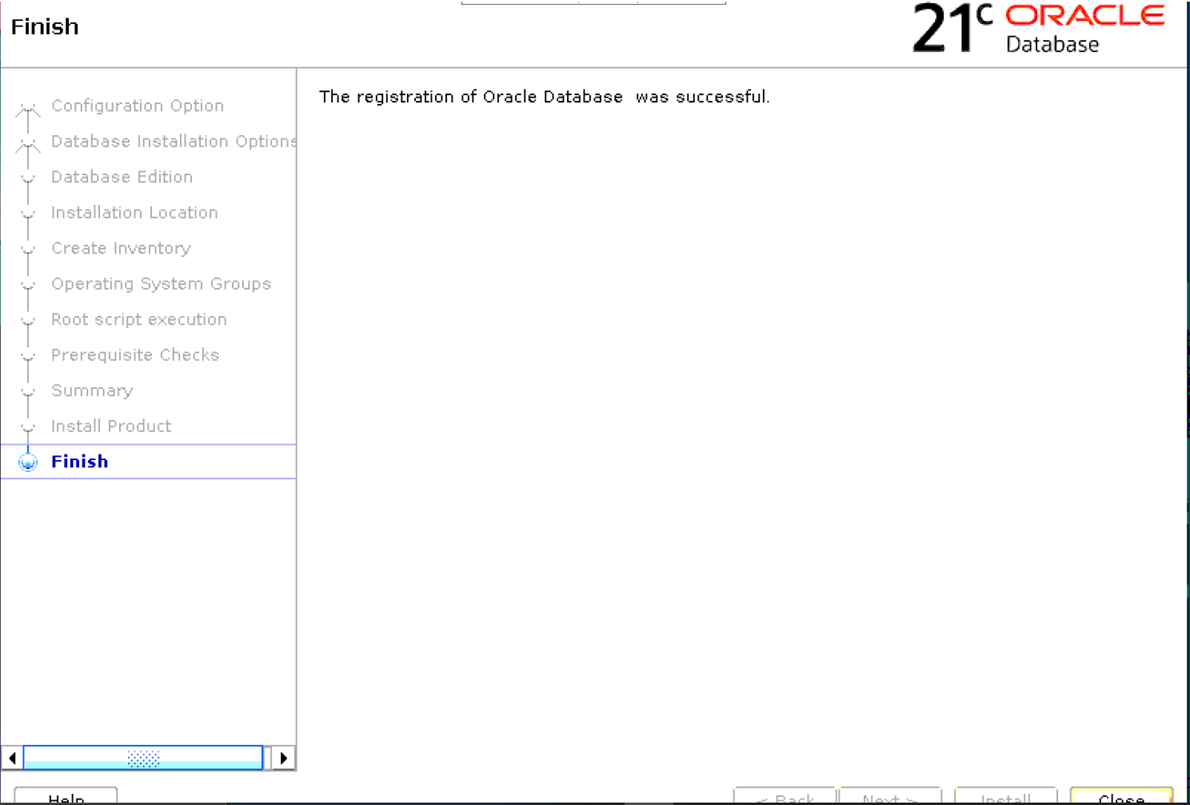
Finally, the screen that we always wish to see when we do any installation-Success!
So now, we have installed Oracle database 21c software on OEL 7. Hope this post helps. In the next post, we shall create database and see what’s new in the database creation.
Aman….


Recent Comments