In this 2nd post, we shall create Exadata infrastructure resource. If you don’t know about what it is, you may want to read my first post where I have described the new ExaCS resource model. In this post, we shall see how we create it.
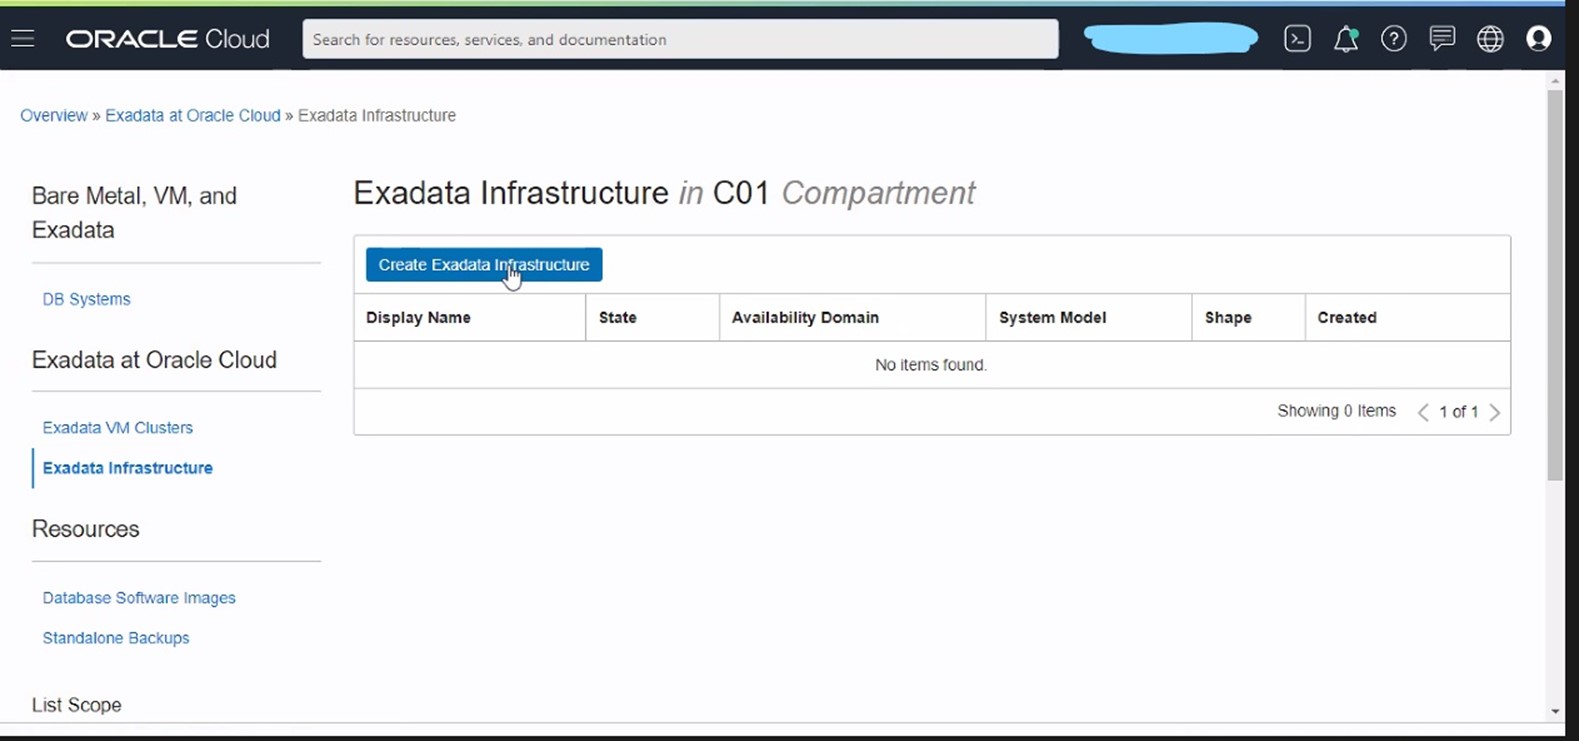
To start with you need to be in the correct compartment. Once you have chosen the correct compartment, you need to select the option of creating the Exadata Infrastructure resource.
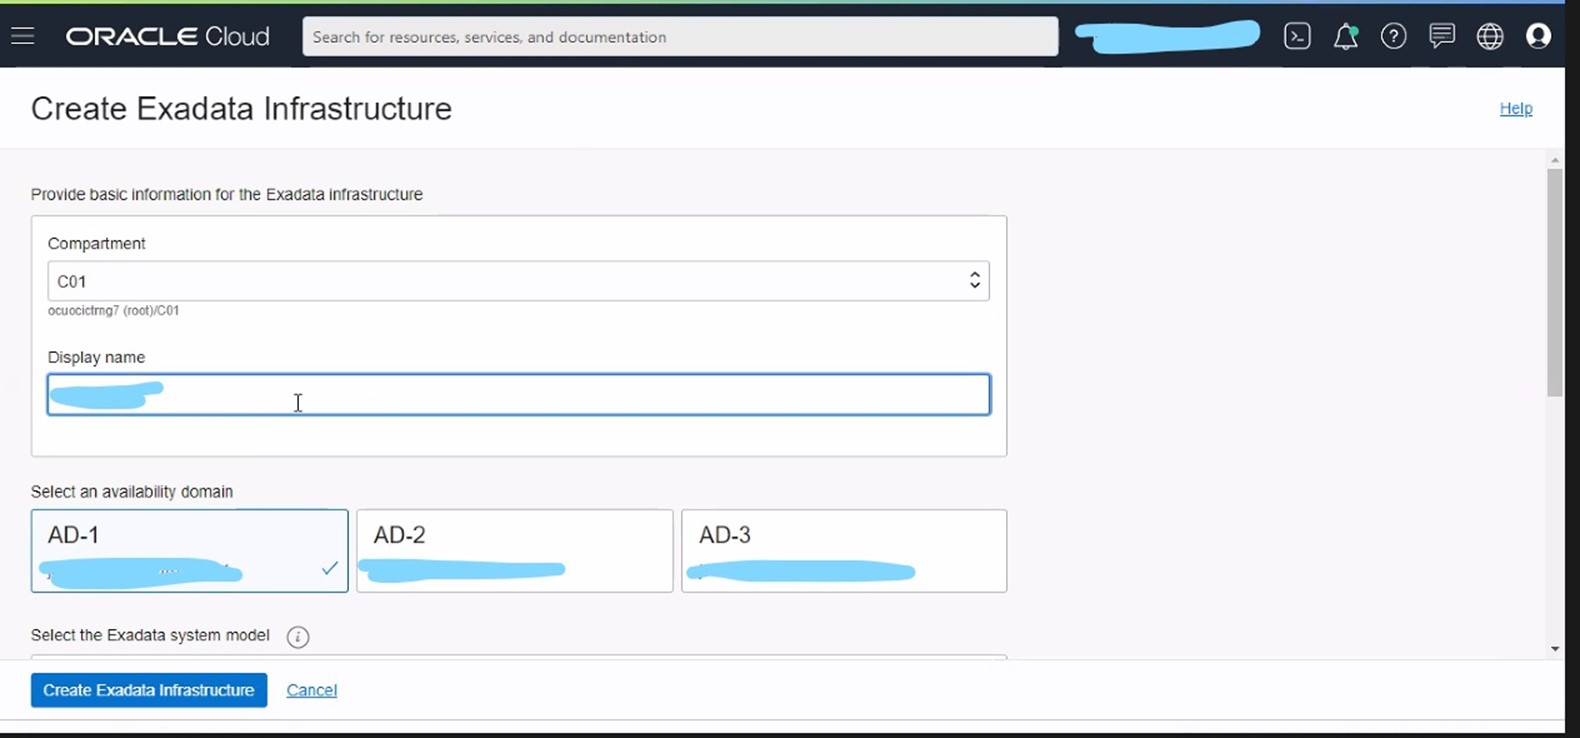
Next you need to give the name for the infrastructure and also select in which Availability Domain(AD) you want to create ExaCS Infrastructure.
Next is to choose what Shape of the ExaCS that you want to opt for. Remember this starts from 2 Db Nodes and 3 Cell nodes by default. I am choosing here X8-2 QR.
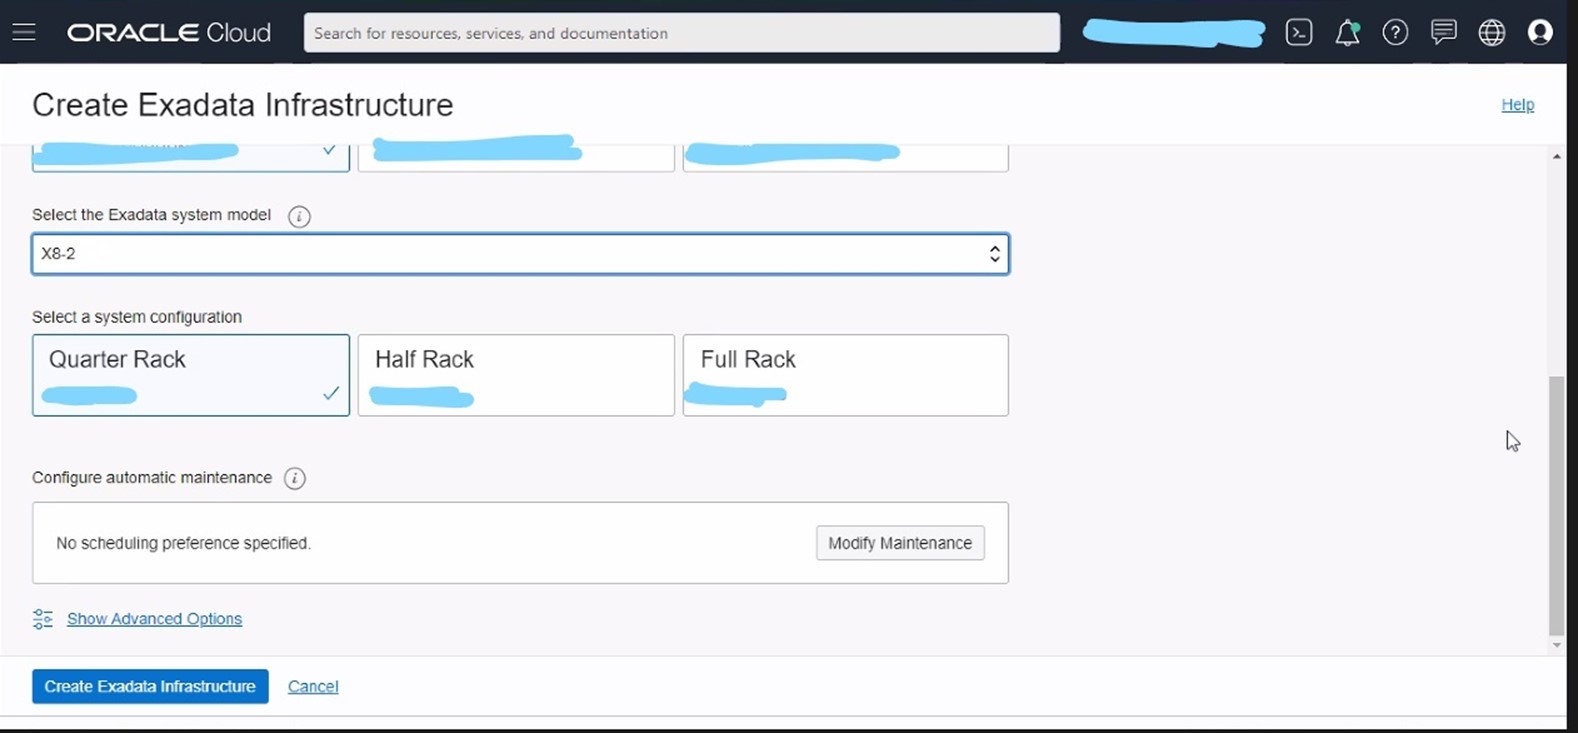
As we discussed in the first post, ExaCS Infrastructure is not really going to create the actual entities such as VMs(earlier known as DB nodes) etc. So as soon you now click on the button – Create Exadata Infrastructure, provisioning of ExaCS Infrastructure starts.
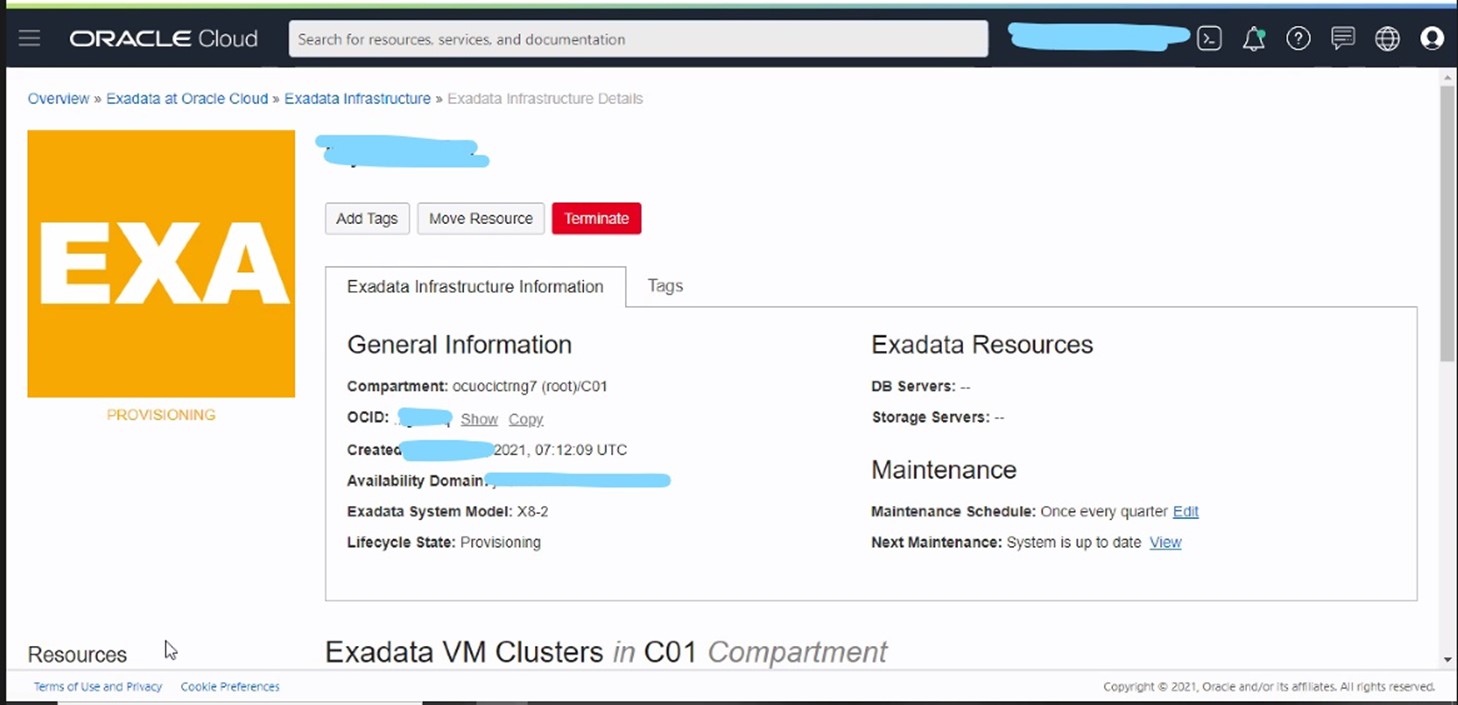
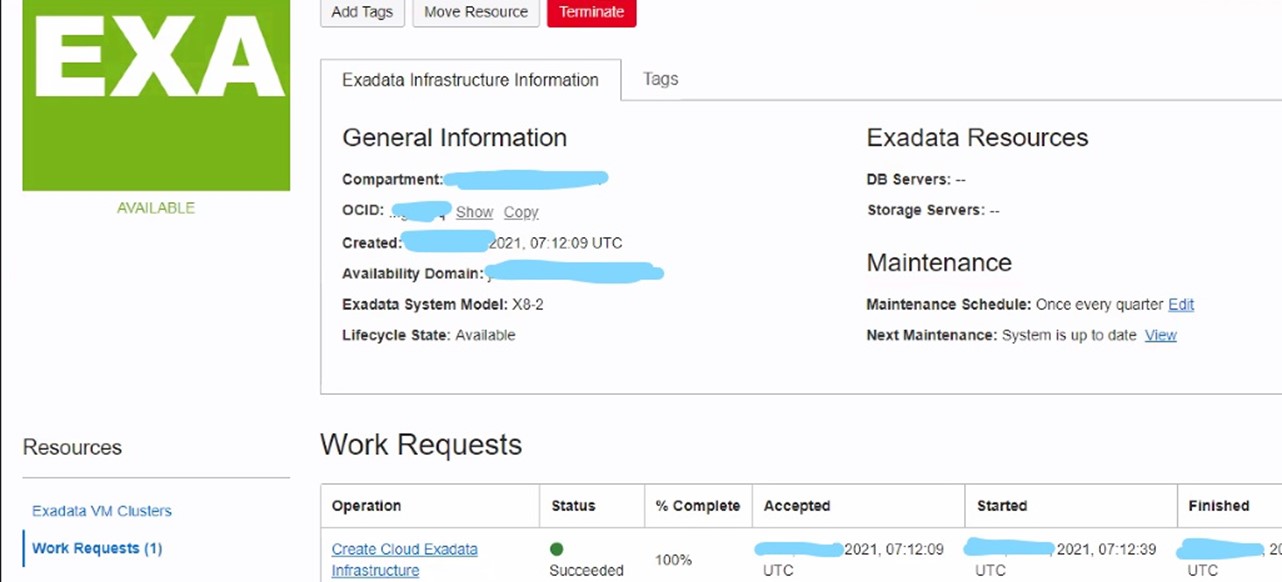
It doesn’t take much longer before the resource is finally available. You can see the success of the provisioning from the Work Requests in the OCI console.
So now we have a working Exadata Infrastructure resource. Next it will be to create the Exadata VM cluster resource which we shall see in the next post.
Hope it helps.
Aman….


Recent Comments